
Once upon a time I bought pumpkins every year, carved them into silly faces and put candles in them, lighting up crooked teeth and triangular eyes.
Then I found the plastic variety, pre-carved, with electric bulbs, good year after year. The last of those finally broke last year. I was left with real pumpkin carving again. I cringed, bought a pumpkin-carving kit – the cheap kind – cringed again. And fell in love with art of pumpkin carving.
Tools of the Carving Trade
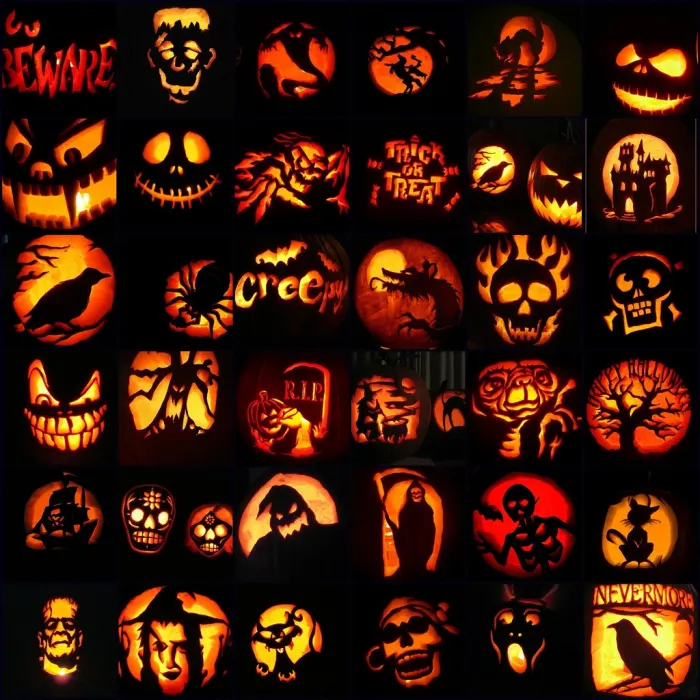
Pumpkin Carving Templates
Pumpkin Carving Patterns – Over 600 Designs by The Pumpkin Lady
Pumpkin Carving Patterns and Free Carving Pumpkin Patterns – Tons of Original Designs by The Pumpkin Lady. Cats, Witches, Baby’s First, Weddings and More!
Halloween Jack-o’-lantern Templates – Seventeen
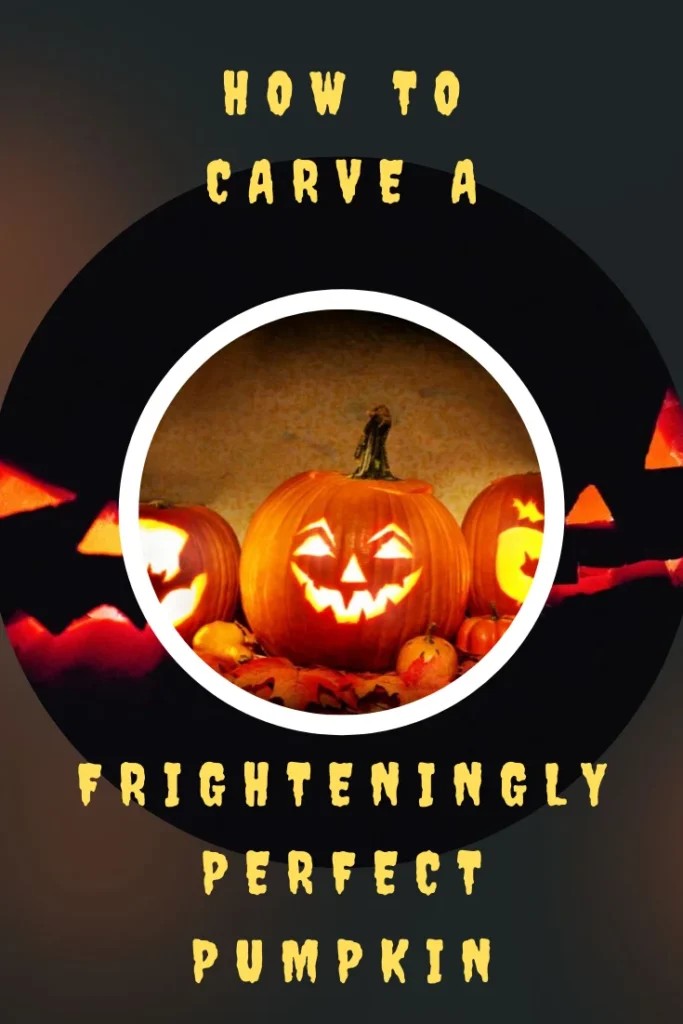
Carve the perfect Halloween pumpkin!
9 Jack-O’-Lantern Templates and Pumpkin Carving Patterns – MyHomeIdeas.com
Difficulty Level: Easy
What You’ll Need
What You Need
- a pumpkin, or several
- a pumpkin carving kit. Why? They include the pokers, templates, scrapers, and saws that make pumpkin carving easier.
- candles. Any candle will do and these days you can even choose a battery-operated one.
- imagination, aka creativity. Get funny, get crazy, get spooky, get creative. Jack-o-lanterns don’t have to have a face either. Besides the scary faces, spooky Halloween-y scenes are popular carving options. If you can’t think of something, use one of the many templates available online.
For step by step instructions to carving pumpkins, go here:

Why Do We Carve Pumpkins
Pumpkin carving was first recorded in the United States in long before it was associated with Halloween. It’s been going on since at least the 1800s; however, the tradition of vegetable carving – most notably turnips, beets and rutabaga – dates back to before the 1600s in Ireland and Scotland, where the tradition began. These carved vegetable lanterns sat lit on a home’s doorway on All Hallows Eve to ward off evil spirits. When immigrants from Ireland, Scotland and England came to the United States, the custom followed where the native pumpkin was used.
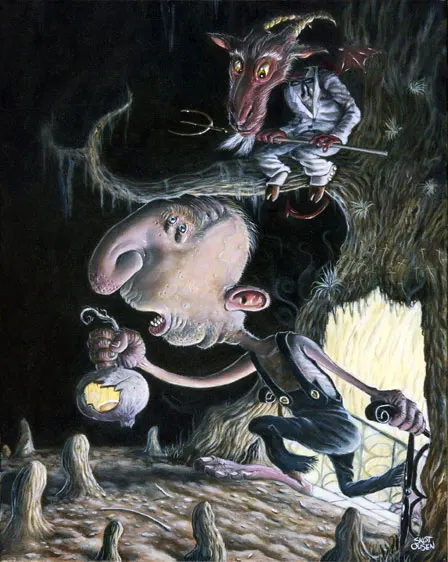
The Legend of Stingy Jack – Where Jack-O’-Lanterns Got Their Name
The name Jack-O-Lantern, originally used in the UK in the 1600s and in the US in the early 1800s, is derived from an old Irish legend about a man named Stingy Jack. Like many legends, there are a various stories surrounding Stingy Jack, but the gist of them all is that he tricked the devil and ended up paying for it.
Stingy Jack asked the devil to have a drink with him. Being stingy, he didn’t want to pay for his drink so he convinced the devil to turn himself into a coin, the devil being able to shape-shift into anything he chooses. Jack wanted to keep the money as well so he put the devil (in the coin shape) into his pocket, with a cross. The cross prevented the devil from shifting back. Eventually Jack released him but not before securing a promise from the devil that he would not bother Jack for a year nor claim his soul if Jack died in that year.
Well, a year passed and Jack, being stingy, wanted more from the devil. Again he tricked the devil, this time securing a promise a from the devil that he would never bother Jack again nor claim his soul when Jack died. Shortly after this, Jack died. Having wicked and stingy ways, he was not allowed into heaven and having made a promise with the devil, he was not allowed to go to hell. The devil sent Jack off to wander the Earth with only an ember and a turnip (Jack’s favorite vegetable). He carved out the turnip and placed the ember in it to light his way around the Earth. He became known as “Jack of the Lantern” which was eventually shortened to “Jack-O’-Lantern”.
Tips & Tricks for Pumpkin Carving
Choose a large, round pumpkin with little or no blemishes. The larger the pumpkin, the easier it is to carve. If it has one side without blemishes you can carve on that side while placing the “ugly” side towards the back.
For a longer shelf life, soak your pumpkin in a solution of 1 teaspoon of bleach to 1 gallon of water. The solution will preserve the pumpkin. Don’t worry, it won’t bleach! You can also rub petroleum jelly on the cut edges so that they don’t shrivel. Nothing worse than a pumpkin with shriveled incisors trying to glare at trick-or-treaters on Halloween.
Use a battery-powered candle rather than a flame one to reduce the risk of fire. But if you MUST use flame, use a high quality votive in a clear glass holder. High quality candles, though more expensive, burn longer. And the glass holder will keep the melted wax contained.
Sprinkle the bottom of your pumpkin with cinnamon, nutmeg or some similar scent. It will play double-duty in providing a pleasant smell to your home. Alternatively, use a scented candle in the pumpkin.
Save the seeds. They make a delicious treat when seasoned and toasted (roasted?) in the oven.
Carve a mirror-image pattern into the back (upper) part of the pumpkin. When lit, the image will project onto a wall behind the pumpkin. This makes a stunning effect and is great for projecting things like writing or neat scenery.
New to carving? Begin with a simple, bold design. Avoid lots of small holes or pieces as these are easy to cut wrong. If you mess up a small piece, just put it back in place using toothpicks which can also be used to secure the small pieces.
Have fun. Halloween is fun. Trick-or-treating is fun. Carving pumpkins is fun. Enjoy it!
Leave a Reply